If you are searching for how to remove gel varnish because your manicure has started lifting, welcome to the least glamorous part of gel nails. The good news is that you do not need a salon appointment, an electric drill, or twenty minutes of aggressive scraping. With acetone, foil, cotton, and a little patience, you can take off the color while keeping your natural nails in decent shape.
The biggest rule is simple: do not peel it. A gel manicure bonds tightly to the nail surface, and pulling off a lifted corner can remove thin layers of natural nail with it. That is how a quick manicure reset turns into weeks of peeling, softness, and snagging. The goal of how to remove gel varnish is to soften the product until it slides away with very little pressure.
What You Need Before You Start
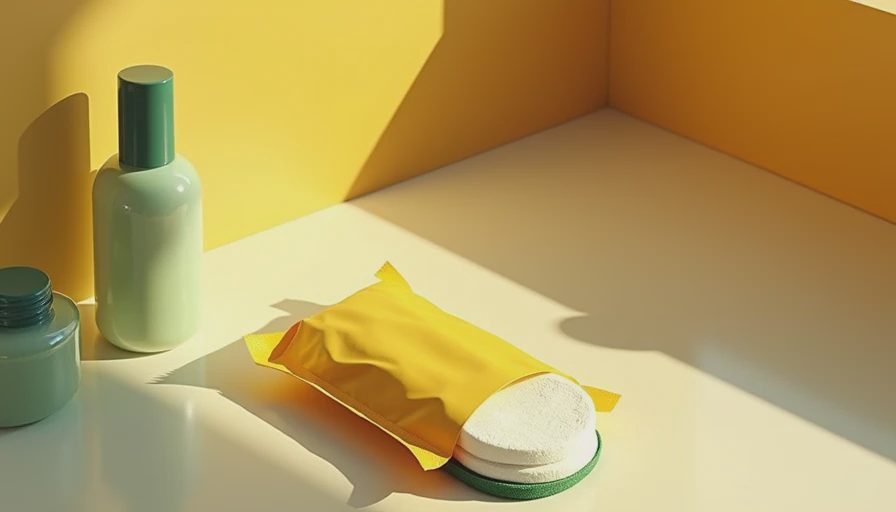
Gather everything before opening the acetone. You will need 100 percent acetone, cotton balls or small cotton pads, aluminum foil, a nail file, a wooden cuticle stick or orangewood stick, and cuticle oil. A small glass or ceramic dish can help, but do not pour acetone into a plastic container because it can damage some plastics.
A hand cream or petroleum jelly is useful for protecting the skin around your nails. Acetone is effective because it breaks down many gel systems, but it is also drying. Applying a thin layer of petroleum jelly around the cuticles and sidewalls helps reduce that tight, chalky feeling afterward. Keep the room ventilated, and work away from candles, cigarettes, or other flames because acetone is highly flammable.
You can use cotton rounds cut into smaller pieces, which is often less wasteful than using a whole cotton ball per nail. The piece only needs to cover the nail plate. More cotton does not make the process faster; it simply uses more remover and creates a mess.
How to Remove Gel Varnish Step by Step
Start by lightly filing the shiny topcoat from each nail. Use a 180-grit file and make a few gentle passes until the surface looks dull. You are not trying to file down to your natural nail. Removing the glossy seal gives the acetone a better path into the gel layers and can reduce soaking time.
Next, saturate a small piece of cotton with acetone and place it directly over the nail. Wrap the fingertip snugly with a strip of foil, keeping the cotton pressed against the nail. Repeat on all ten fingers if you can manage it, or work one hand at a time. The foil holds warmth in and prevents the acetone from evaporating immediately.
Let the wraps sit for 10 to 15 minutes. Avoid checking every two minutes; that breaks the seal and lets the acetone escape. After 10 minutes, remove one wrap and gently push the softened gel toward the tip with a wooden stick. If it resists, rewrap that nail for another five minutes. Resistance is a timing problem, not an invitation to scrape harder.
When learning how to remove gel varnish, patience matters more than strength. The product should come away in soft flakes or thin sheets. If you see a stubborn patch near the cuticle, leave it alone while you work around the easier areas. Add more acetone and give it time rather than digging under the edge.
What to Do When the Gel Will Not Budge
Not every manicure uses the same formula. Some builder gels, hard gels, and extensions are not soak-off products, so acetone may soften only the top layer or do almost nothing. If the surface stays hard after a full 15 to 20 minutes, stop forcing it. Filing aggressively at home can thin the natural nail quickly, especially near the corners.
Some gel polish systems also include a rubber base or several thick layers of color. In that case, file the top surface again very lightly, apply fresh acetone-soaked cotton, and wait another five minutes. Keep the file moving in one direction instead of sawing back and forth. If the product still will not soften, a professional removal is the safer and usually cheaper option than repairing damaged nails.
Do not use dental tools, tweezers, a knife, or the edge of another nail. These tools can gouge the nail plate or tear the surrounding skin. The internet is full of dramatic removal shortcuts; most are just ways to make a small cosmetic job last longer.
Aftercare for Dry or Thin Nails
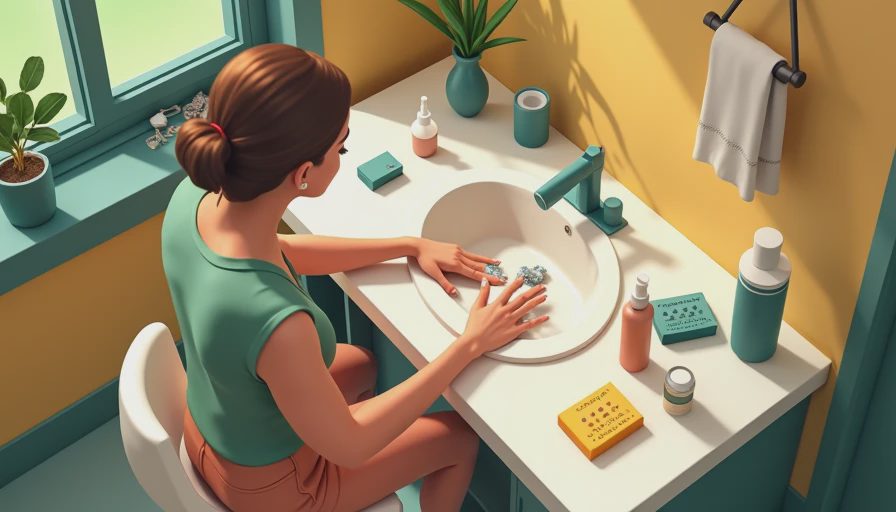
Once the gel is gone, wash your hands with lukewarm water and a gentle soap to remove acetone residue. Pat dry instead of rubbing. Use a fine buffer only if there are tiny flakes left on the surface, and make no more than a few light passes. Buffing until the nail looks glassy is unnecessary and can make it thinner.
Apply cuticle oil to the nail plate, cuticles, and sidewalls. Jojoba-based oils are a practical choice because they spread easily and do not leave the same heavy film as some thick balms. Follow with hand cream. If your nails feel flexible or sore, keep them short with a glass file and skip another gel set for several days.
This is also a good moment to notice what actually happened. If your nails look normal but your skin is dry, hydration and less acetone contact should help. If they are painful, deeply ridged, splitting, or discolored, give them a longer break and consider seeing a dermatologist. Pain is not a normal sign that you simply need a stronger remover.
How to Make the Next Removal Easier
The easiest way to improve how to remove gel varnish next time is to avoid overbuilding the manicure. Thick layers take longer to soak, so apply thin coats and cure each layer according to the product instructions. Seal the free edge, but avoid flooding the cuticle. Product touching the skin can lift early and encourage picking.
Before your next appointment or at-home application, ask whether the product is soak-off gel polish or a hard gel system. That one question tells you whether an acetone wrap is appropriate. If you use a salon, request removal rather than allowing a new set to be placed over lifting product. A clean removal gives the technician a better view of the nail and reduces unnecessary bulk.
For weekday efficiency, keep a small removal kit together in a drawer: foil already torn into strips, cotton cut into squares, a file, a wooden stick, and cuticle oil. It costs less than an emergency salon visit and prevents the classic late-night mistake of peeling gel while watching television. Pretty is nice. Useful is better.
A Simple Removal Timeline
Plan on about 25 to 35 minutes for both hands, including setup and aftercare. Spend three to five minutes filing the topcoat, 10 to 15 minutes soaking, and another five minutes handling stubborn areas. Finish with washing, oil, and cream. If you are rushing to get ready for work the next morning, remove one hand at a time while watching a show or answering low-stakes messages. Multitasking is fine as long as you do not start picking.
The short version of how to remove gel varnish is file lightly, soak thoroughly, slide gently, and moisturize afterward. If the gel does not soften, stop and identify the product instead of escalating the pressure. Your natural nails are the part you have to live with after the manicure is gone.



No comments yet — grab the first one.